Pull Apart Wheat Rolls

Pull Apart Wheat Rolls

Blogging with a toddler is much MUCH harder than blogging with a one-year-old. Add in birth photography, and I’m struggling to update on a weekly basis (which makes me sad!) So while 2014 brought many wonderful changes, I’m looking forward to more balance and time to blog in 2015. I’m happy to say that Lucy loves being in the kitchen with me. She finds cookie making to be one of her favorite activities. But, the coordination needed to create, bake, and then photograph a recipe is no small feat! Thankfully, Lulu will go to a wonderful Waldorf school two days a week starting January…which means more consistent blogging here!

Pull Apart Wheat Rolls

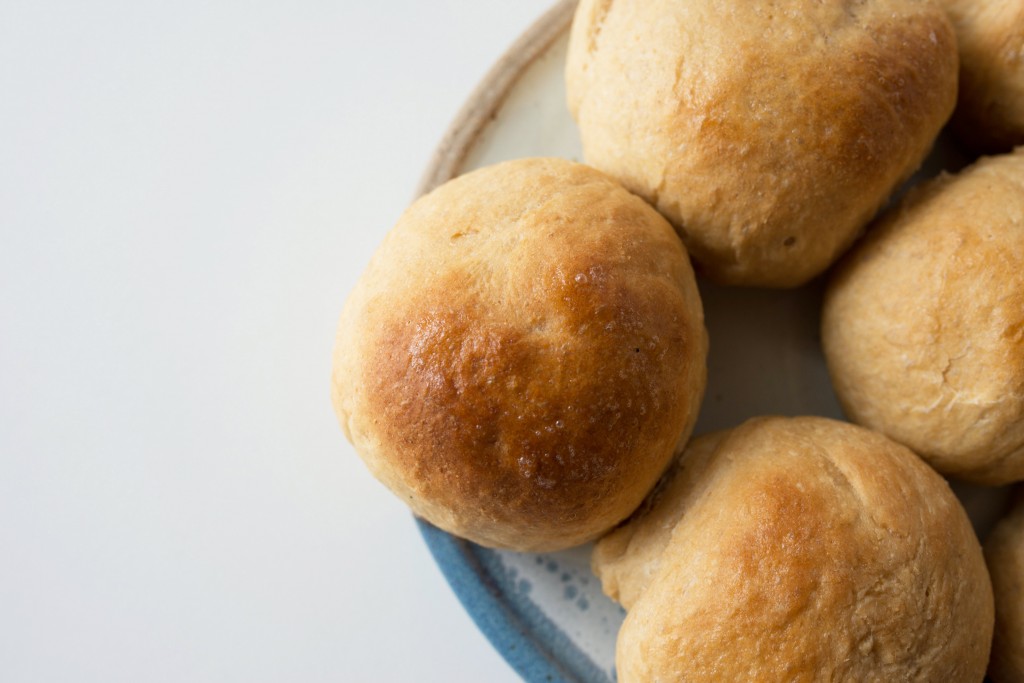
But enough of that! I celebrated my 28th birthday yesterday, and we ended the wonderful, happy day with a big pot of vegetable soup at my parent’s house. And what’s a big bowl of soup without freshly baked rolls? These soft pull apart wheat rolls are buttery and pillowy; they are the perfect accompaniment to a stew or a holiday meal. And to be honest, I find a roll, a dab of butter, and a dollop of jam to be the perfect late night snack. As a breastfeeding, birth photographer…I’m all about the late night snacks.  These rolls are easy to make and they’ll be sure to impress your friends, families, children….make a batch for Christmas Eve dinner…and save a few for Christmas morning (think butter, cinnamon, sugar). They are that good!
Pull Apart Wheat Rolls

Pull Apart Wheat Rolls

From King Arthur Flour

1 1/2 cups Unbleached All-Purpose Flour

1 1/2 cups King Arthur White Whole Wheat Flour

2 teaspoons instant yeast

2 tablespoons potato flour or 1/4 cup instant potato flakes

3 tablespoons Baker’s Special Dry Milk or nonfat dry milk

2 tablespoons sugar

1 1/2 teaspoons salt

4 tablespoons soft butter

2/3 cup lukewarm water

1/2 cup lukewarm milk

Combine all of the ingredients in a large bowl, and mix and knead — using your hands or a stand mixer — to make a soft, smooth dough.

Place the dough in a lightly greased container. Cover , and allow the dough to rise for 60 to 90 minutes, until it’s just about doubled in bulk. Gently deflate the dough, and transfer it to a lightly greased work surface.

Divide the dough into 16 equal pieces, by dividing in half, then in halves again, etc. Round each piece into a smooth ball.

Lightly grease two 8″ round cake pans. Space 8 buns in each pan. Can you use 9″ round cake pans, or a 9″ x 13″ pan? Sure; the buns just won’t nestle together as closely, so their sides will be a bit more baked.

Cover the pans, and allow the buns to rise till they’re crowded against one another and quite puffy, about 60 to 90 minutes. Towards the end of the rising time, preheat the oven to 350°F.

Uncover the buns, and bake them for 22 to 24 minutes, until they’re golden brown on top and the edges of the center bun spring back lightly when you touch it. An instant-read thermometer inserted into the middle of the center bun should register at least 190°F.

Remove the buns from the oven, and brush with the melted butter. After a couple of minutes, turn them out of the pan onto a cooling rack. Serve warm. Store leftovers well-wrapped, at room temperature.

Pistachio Shortbread with Coconut Sugar

Pistachio Shortbread with Coconut Sugar

It’s December. Christmas is just around the corner…and my birthday is too.  From Christmas parties to birthday lunches, there will be ample opportunities to celebrate. And I’m sure I’ll bake my fair share of pies, cakes, and cookies. Plenty of Christmas cookies. Because there’s nothing quite like pulling a fresh batch from your oven, packaging them up for family and friends, and then delivering them on a crisp winter afternoon.
LucyBakes1214WEB

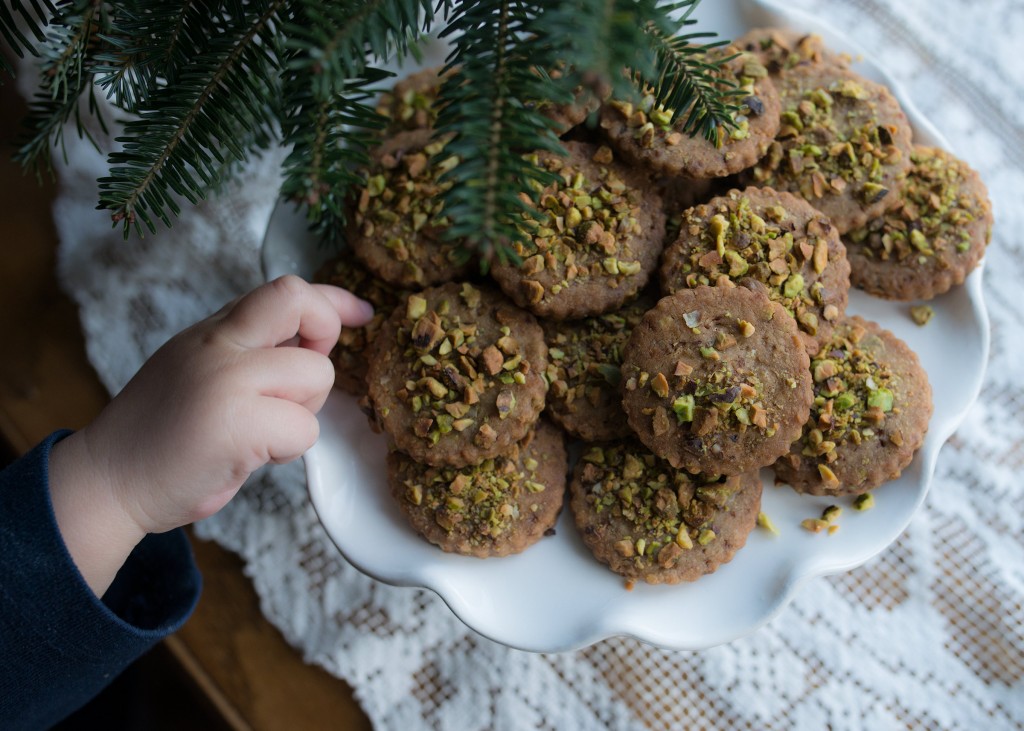
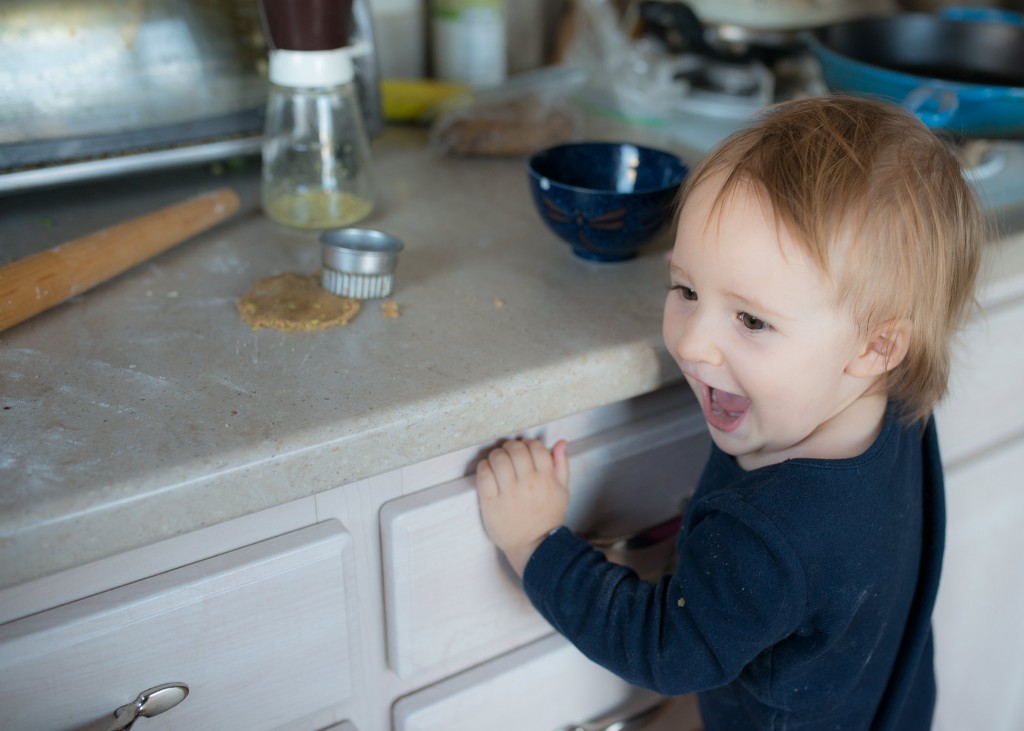
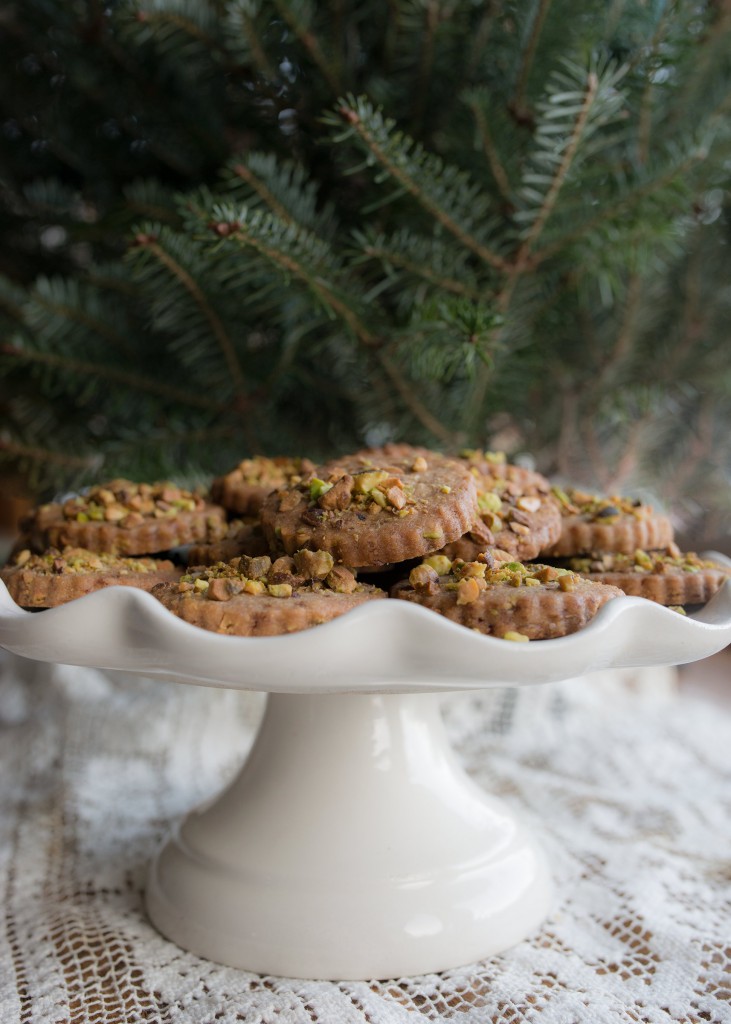
But now that Lucy is walking and talking and getting into almost everything, I’ve been trying to find ways to make Christmas cookies that are a bit more wholesome. I don’t want her to restrict her from Christmas sweets, but I want to be mindful that sugar isn’t the best thing for little (or big) bodies to process on a regular basis. So I took one of my favorite recipes (a classic shortbread) and subbed coconut sugar for cane sugar. Coconut sugar is much lower on the glycemic index (and it’s actually nutrient dense with vitamins and minerals). Lulu joined me in the kitchen, and we whipped up a batch of pistachio shortbread cookies in under an hour. The smell of roasting nuts and butter filled our house, and we eagerly waited for the kitchen timer to chime.

PIstachio Shortbread made with Coconut Sugar

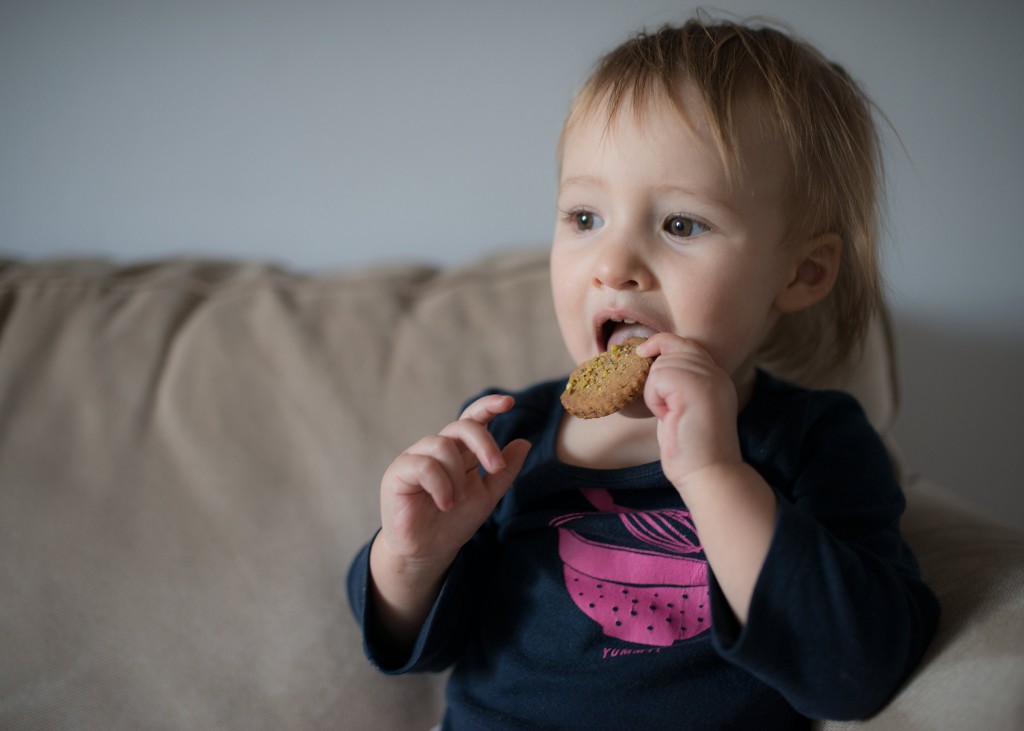
I hope you enjoy these as much as we did. Due to the coconut sugar, they’re much darker than their traditional counterparts. But along with the added color comes a deep and rich flavor that just can’t be beat. Add the crunch of pistachios, and these cookies might just become holiday favorites. Lulu had one this afternoon (and would have easily gone back for seconds or thirds had I not distracted her with a new book).

LucyCookies1214WEB

3 sticks butter (1 1/2 cups) room temperature

1 cup coconut sugar

3 1/2 cups all-purpose flour

1/2 teaspoon salt

1 cup shelled pistachios, finely chopped

Beat together butter and coconut sugar until creamy. About 3 minutes using a stand mixer. In a large bowl, whisk together all-purpose flour and salt. Gradually mix dry ingredients into butter-sugar mixture. Stir until dough begins to clump together. Fold in 3/4 cup pistachios. Press into two flat discs, wrap with plastic wrap, and allow to chill for 30 minutes. Meanwhile, lightly flour a work surface and preheat oven to 350 F.

After dough has chilled, roll out each disk on floured surface to 1/2 inch thickness. Using a cookie cutter of your choice, cut out rounds and arrange on a parchment-paper lined baking sheet (these cookies do no spread so feel free to space them closer together than other cookies). If desired, sprinkle with remaining chopped pistachios. Bake in preheated oven for 15 minutes or until golden brown.

A Morning With My Lulu

Applehands1014WEB

I don’t talk about it often enough, but I’m infinitely thankful for the role my husband plays in raising our daughter. He’s lucky enough to work from home, which means he gets to see her throughout the day. Not only does he see her, but he cares for her, loves on her, nurtures, her, teaches her. We co-parent, and I wouldn’t have it any other way.

1014ApplesWEB

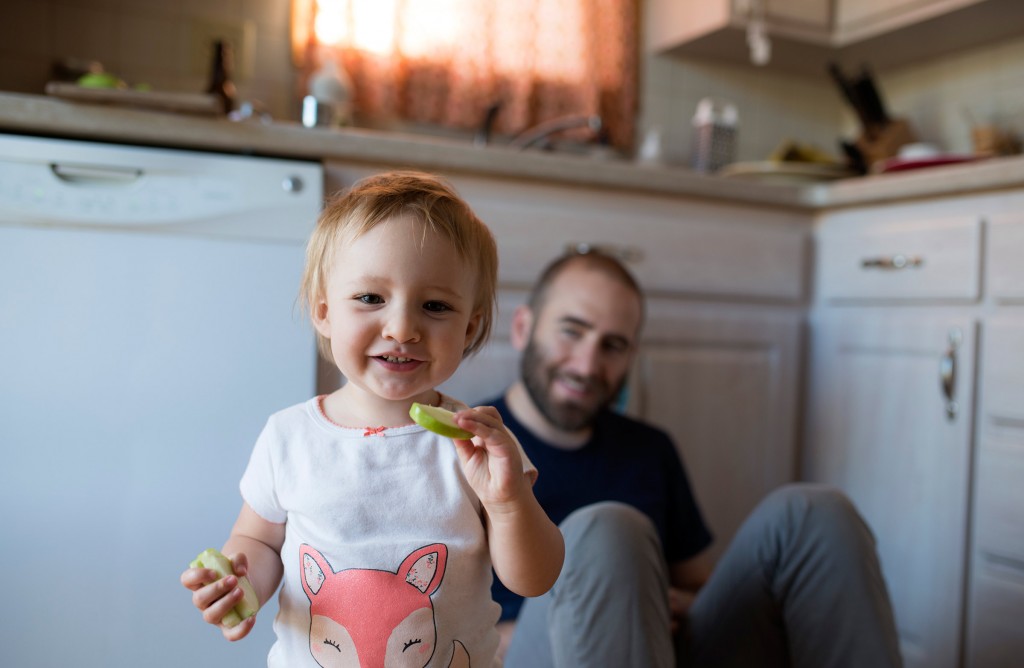
As you might imagine, most days at our home begin in the kitchen. Lucy plays at the same table I played on when I was a little girl. She sorts dried beans or roasted nuts. She arranges her fruit and then asks to wipe down the table with a wet cloth. Ryan and I both make hot breakfasts each morning, which means cracking eggs, toasting bread, and waiting for our tea kettle to boil.

Table1014WEB

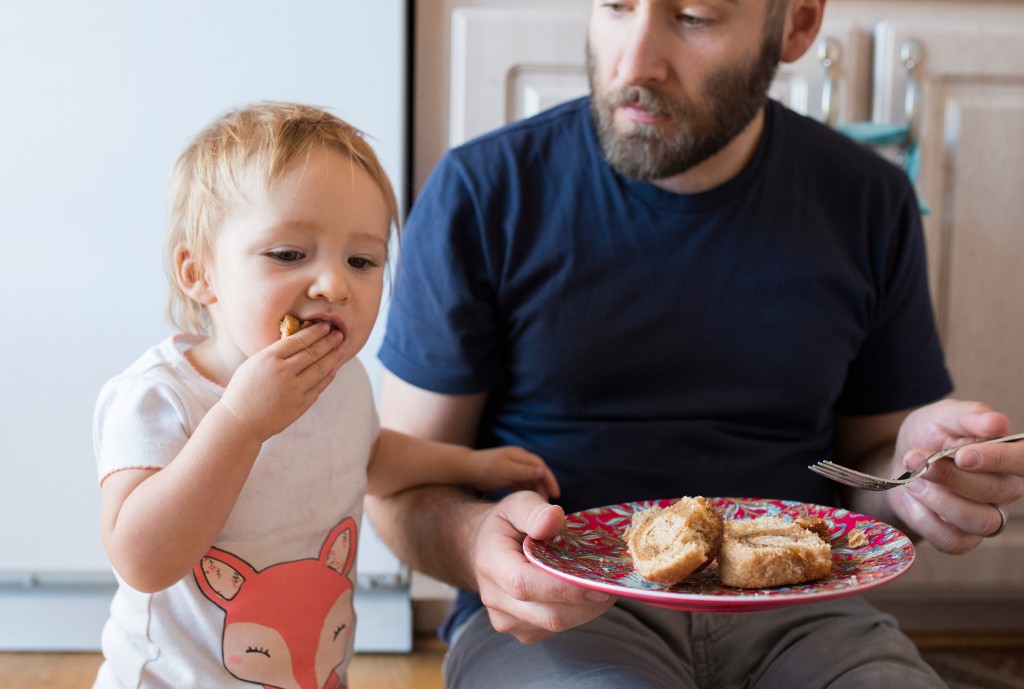
We often sit together on the kitchen floor. Do away with the fussiness of setting the dining room table. Lucy likes us to sit right below the sink, on our flowered rug. If we try to change the routine, she grabs our hand and beckons us over to “our spot.” Despite what we prepare for her, she ALWAYS wants to eat what’s on our plate (even if it is the same exact cinnamon roll), and so we’ve gotten really good at sharing.

BigBite1014WEB

I treasure these mornings because I know they won’t last forever. In a few short years, we’ll have to worry about getting to school on time. We won’t have the luxury of unscheduled hours. And so I’m cherishing it…and I’m so very happy to share my cinnamon roll, or breakfast taco, or bagel with Lulu. I know Ryan is too.

FeedPapa1014WEB

Apple Slab Tart

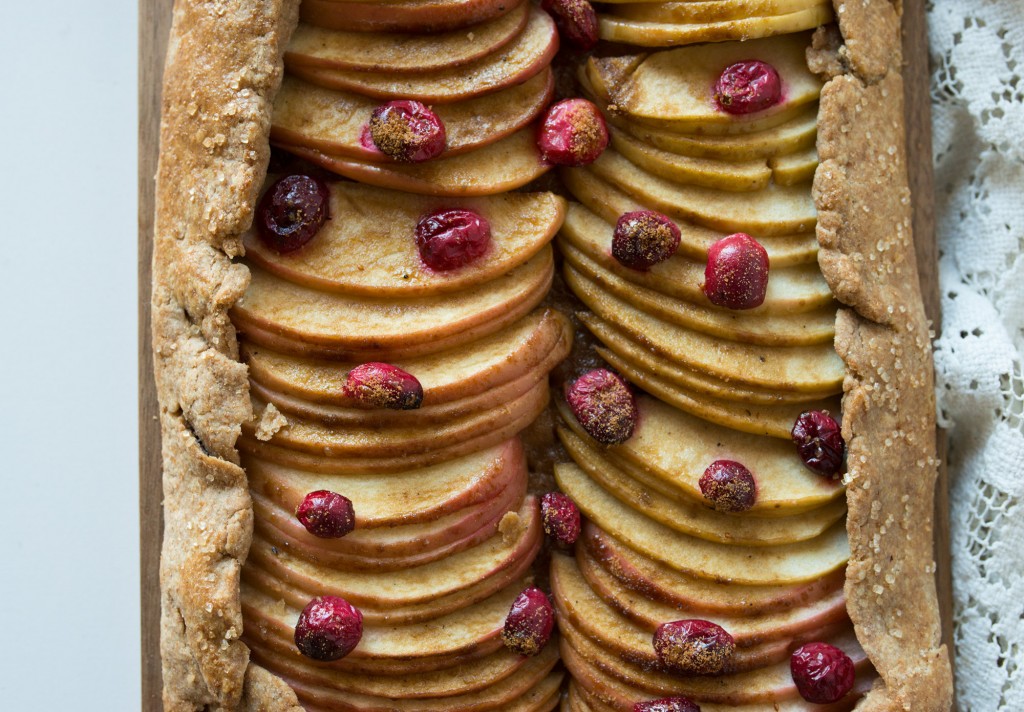
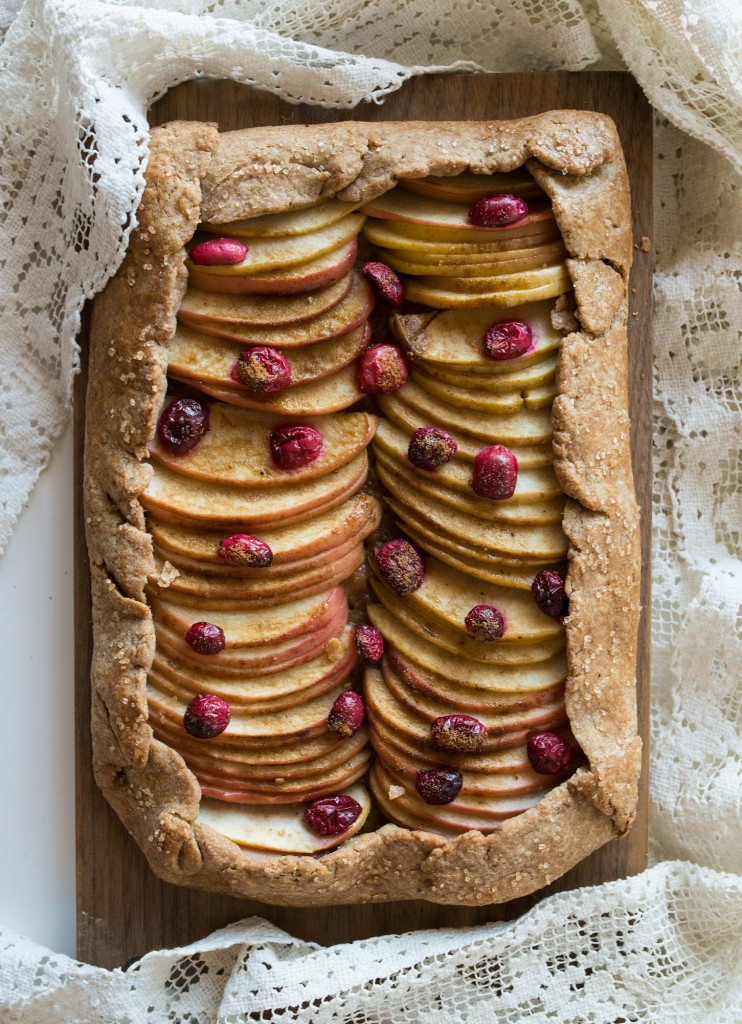
Apple Cranberry Slab Tart

It’s been two weeks. I can’t believe it! Since I started blogging five years ago, I’ve never let that much time go by. But with a very active toddler…and with being on-call as a birth photographer…well, life has been busy in the best possible way. That being said, I’m still baking. I’m still relishing the mornings when I’m able to pull out my mixing bowls and create something simple and satisfying like this: an apple cranberry slab tart.

I found inspiration for this recipe after reading the November Bon Appetit. They had a beautiful apple slab tart, and as soon as I saw it…I knew I had to find a way to make something similar in my own kitchen. The only challenge I faced was rolling out my dough. Turns out, pie dough is much easier to roll out into a circle than a rectangle. No wonder our grandmas and great-grandams stuck to their pie pans. But after a few tries, I got it, and I loved how my apples looked, stacked carefully, one on top of the other.

Apple Cranberry Slab Tart

Since I talked to you last, I made this delicious and beautiful apple slab tart. I also captured the arrival of two babies into the world. If you want to keep track of what I’m doing, you can find our website here (Monet and Ryan Crafting Stories). And remember…I travel! So if you’d like me to photograph a birth or a wedding, just send me a message (monet@monetandryan.com).

Just Born

Apple Cranberry Slab Tart

¼ cup (½ stick) salted butter
½ vanilla bean, split lengthwise
Basic Tart Dough
All-purpose flour (for dusting)
1 pound baking apples (such as Pink Lady; about 2 large), scrubbed, sliced ⅛” thick
8 oz cranberries, cut in half
3 tablespoons coconut sugar
1 large egg
1 tablespoon granulated sugar

Place a rack in middle of oven and preheat to 375 F. Place butter in a small saucepan and scrape in vanilla seeds; add pod. Cook over medium heat, stirring often, until butter foams, then browns (be careful not to burn), 5–8 minutes. Remove pan from heat and remove pod.

Roll out dough on a lightly floured surface into a rough 14×10” rectangle about ⅛” thick (alternatively, roll out into a 12” round). Transfer to a parchment-lined baking sheet. Arrange apples on top, overlapping and leaving a 1½” border. Sprinkle cranberries on top. Brush apples and cranberries with brown butter and sprinkle with coconut sugar. Lift edges of dough over apples, tucking and overlapping as needed.

Beat egg with 1 tsp. water in a small bowl and brush crust with egg wash. Sprinkle with  sugar and bake, rotating once, until apples are soft and juicy and crust is golden brown, 40–50 minutes. Let cool slightly on baking sheet before slicing.

Apple Pie Cookies

Apple Pie Cookies

I photographed yet another birth earlier this week. Baby girl was born easily and peacefully at home. With all these babies and births, I’m not posting here nearly as often as I used to…but for the first time since I started blogging, I feel like it’s the right time for me to take a small step back from Anecdotes and Apple Cores. (But don’t worry, I’m not going anywhere!)

Not only did I get to watch a baby make her way into the world, but I also had the joy of watching my baby fall in love with Halloween. Dressing up, walking around our neighborhood, knocking on doors, picking out candy…she loved the whole experience from start to finish. And what more perfect costume for my daughter than that of a french mademoiselle?

LuLuHalloween2014

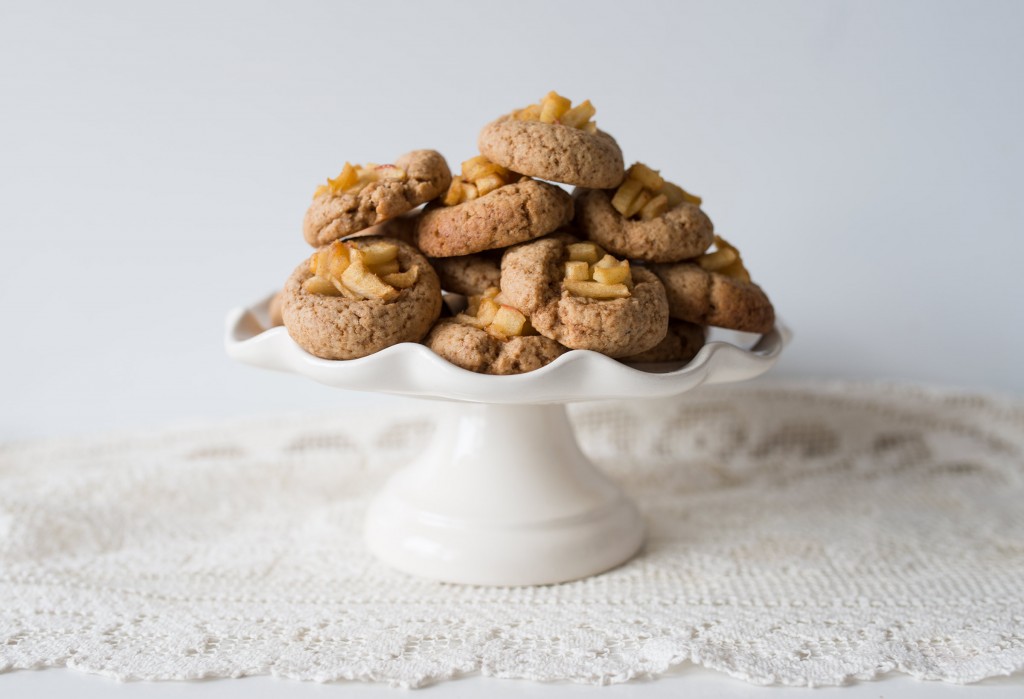
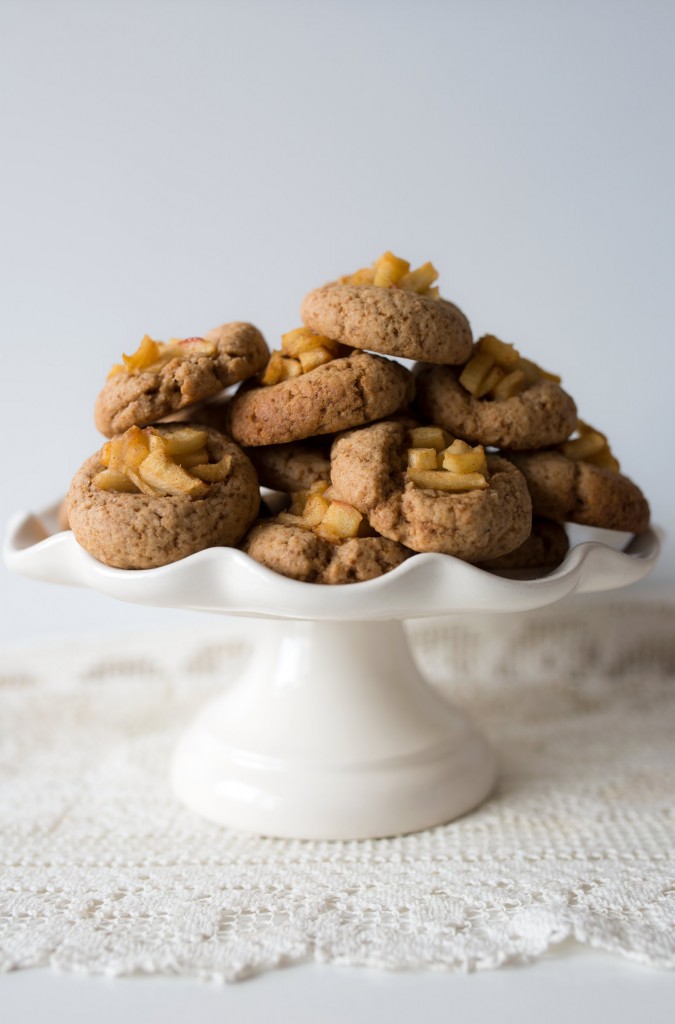
On Friday afternoon, I realized we didn’t have an ounce of candy in our house. So naturally…I baked cookies. Because who wouldn’t want to receive a homemade cookie? Thankfully, we live in a small close-knit neighborhood where cookie-sharing on Halloween wouldn’t be creepy. These cookies were in the oven and on this cakestand within an hour’s time. They were slightly sweet, buttery, and bursting with the best flavors of fall.

Apple Pie Cookies

Apple Pie Cookies

1 cup diced and peeled apples

1 tablespoon butter

1 tablespoon maple syrup

1 stick (8 tablespoons butter) room temperature

1/2 cup coconut sugar (brown sugar works too)

1 egg

1 teaspoon vanilla extract

1 1/2 cups all-purpose flour

1/2 teaspoon salt

1/2 teaspoon baking powder

1 teaspoon cinnamon

In a large skillet, melt 1 tablespoon butter. Add diced apples and maple syrup. Cook until apples are tender and begin to caramelize slightly. Set aside.

In a medium bowl attached to a stand mixer, beat together coconut sugar and butter until smooth and creamy, about five minutes. Stir in egg and vanilla. Beat until combined. In a medium bowl, whisk together flour, baking powder, and salt. Stir dry ingredients into butter-sugar mixture. A soft dough should form. Allow to chill for 30 minutes.

Preheat oven to 350 degrees Fahrenheit. Scoop dough out in one-inch balls. Place about two-inches apart on baking sheet. With your thumb or the back of a spoon, form a small indentation into each piece of dough. Generously spoon cooked apples into center. Bake cookies until the edges are lightly golden, about 12 minutes. Remove and serve warm.