I just finished lesson planning. Only a few more weeks of the semester, and I’m happy to report that despite the demands of new motherhood, teaching has been a success. My students, for the most part, seem to be learning…and I think a few of them actually like me. I enjoy getting away two nights each week, and I know that Ryan enjoys the one-on-one time he gets with Lu. And Ryan’s sweet mom joins them each Wednesday for dinner and play. It’s a win-win for everyone.
Last week, we made a huge batch of pizza dough on Monday night. This dough is surprisingly simple to pull together, and yet it wasn’t without its challenges. I left Ryan to the recipe while I nursed Lucy to sleep only to discover that he had failed to weigh his ingredients…a must when using any Peter Reinhart recipe (or so I thought). I admit I was a bit perturbed when I realized he’d “guessed” at 2 ounces of olive oil. “That simply won’t do!” I said/shouted. “We’re making another batch. The right way this time.”
Ryan, being a wise man, didn’t fight me. He simply bagged up his dough and then sweetly made another batch with me watching him over his shoulder . “We’ll experiment with both batches tomorrow,” he said. And we did.
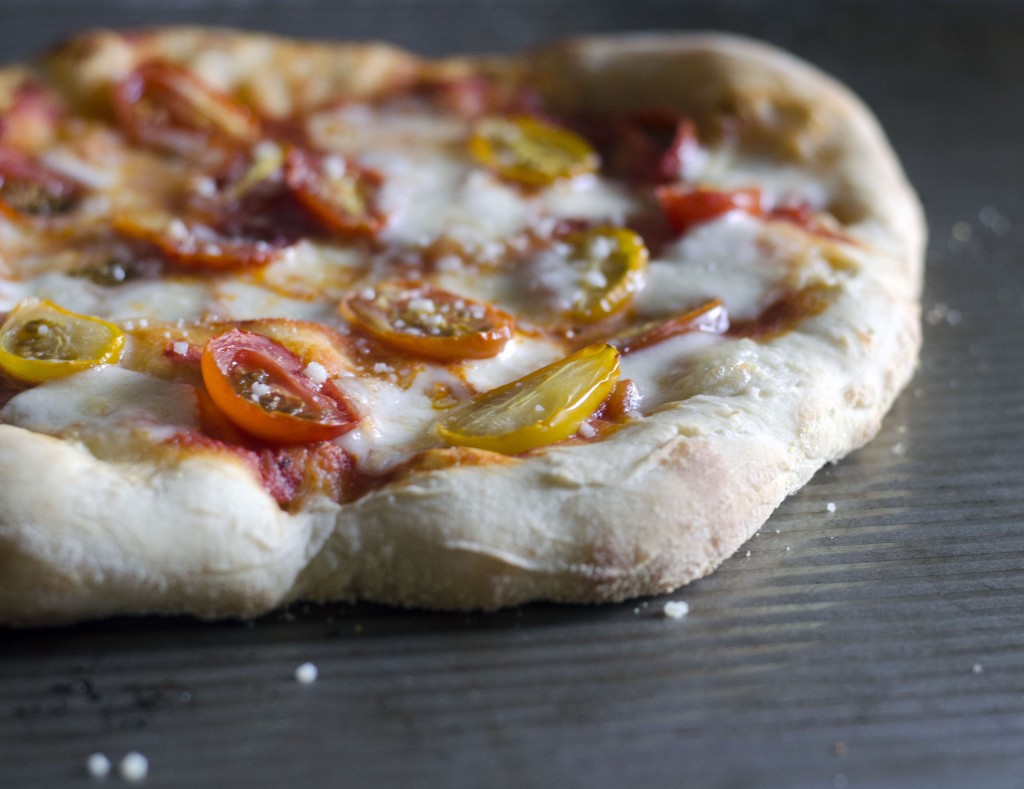
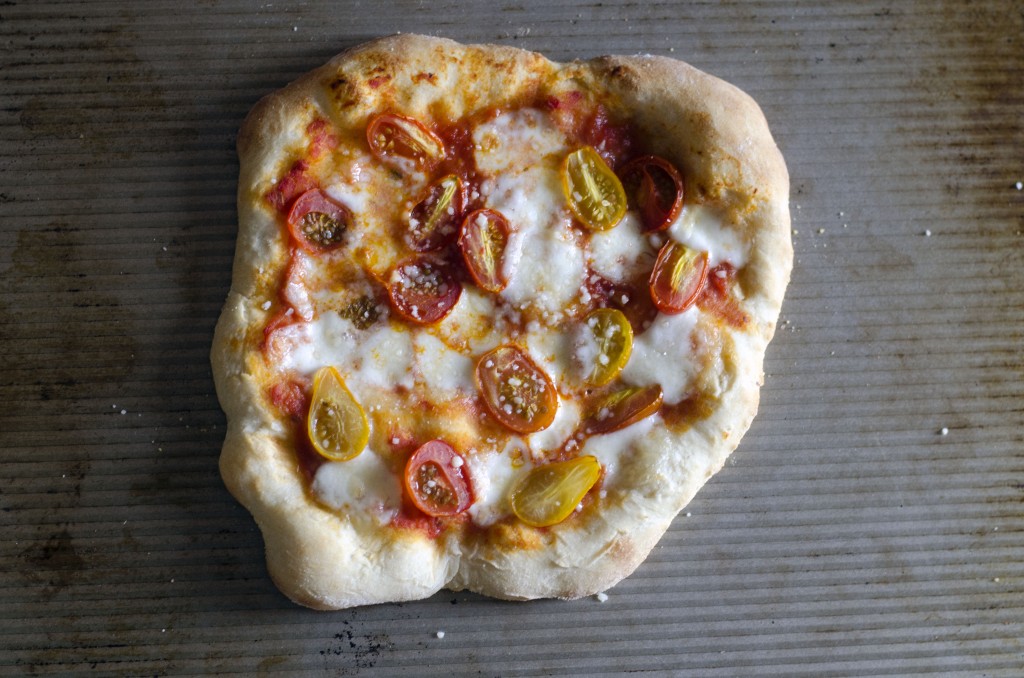
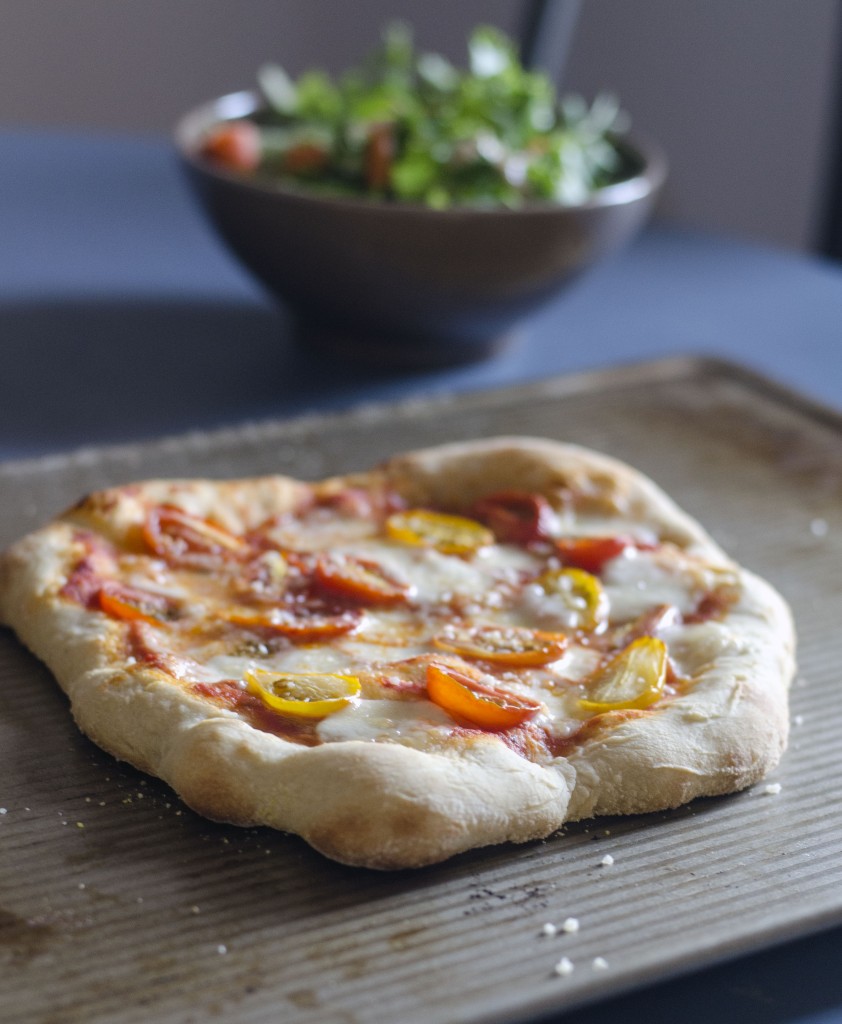
Much to my surprise (and Ryan’s delight) both varieties turned out wonderfully. My precisely measured dough was a bit wetter (which makes for a more elastic dough) while Ryan’s held up better under the weight of extra ingredients. You can’t go wrong. With or without a scale. And did I mention that this was Lucy’s first time eating pizza? Clearly, it was a win.
 Overnight Pizza Dough
4 1/2 cups (20.25 ounces) unbleached high-gluten, bread, or all-purpose flour, chilled
1 3/4 (.44 ounce) teaspoons salt
1 teaspoon (.11 ounce) instant yeast
1/4 cup (2 ounces) olive oil
1 3/4 cups (14 ounces) water, ice cold (40°F)
Semolina flour OR cornmeal for dusting
Stir together the flour, salt, and instant yeast in a 4-quart bowl (or in the bowl of an electric mixer). With a large metal spoon, stir in the oil and the cold water until the flour is all absorbed (or mix on low speed with the paddle attachment), If you are mixing by hand, repeatedly dip one of your hands or the metal spoon into cold water and use it, much like a dough hook, to work the dough vigorously into a smooth mass while rotating the bowl in a circular motion with the other hand. Reverse the circular motion a few times to develop the gluten further. Do this for 5 to 7 minutes, or until the dough is smooth and the ingredients are evenly distributed. If you are using an electric mixer, switch to the dough hook and mix on medium speed for 5 to 7 minutes, or as long as it takes to create a smooth, sticky dough. The dough should clear the sides of the bowl but stick to the bottom of the bowl. If the dough is too wet and doesn’t come off the sides of the bowl, sprinkle in some more flour just until it clears the sides. If it clears the bottom of the bowl, dribble in a tea- spoon or two of cold water. The finished dough will be springy, elastic, and sticky, not just tacky, and register 50 to 55F.
Sprinkle flour on the counter and transfer the dough to the counter. Prepare a sheet pan by lining it with baking parchment and misting the parchment with spray oil (or lightly oil the parchment). Using a metal dough scraper, cut the dough into 6 equal pieces (or larger if you are comfortable shaping large pizzas), You can dip the scraper into the water between cuts to keep the dough from sticking to it, Sprinkle flour over the dough. Make sure your hands are dry and then flour them. Lift each piece and gently round it into a ball. If the dough sticks to your hands, dip your hands into the flour again. Transfer the dough balls to the sheet pan, Mist the dough generously with spray oil and slip the pan into a food-grade plastic bag.
Put the pan into the refrigerator overnight to rest the dough, or keep for up to 3 days. (Note: If you want to save some of the dough for future baking, you can store the dough balls in a zippered freezer bag. Dip each dough ball into a bowl that has a few tablespoons of oil in it, rolling the dough in the oil, and then put each ball into a separate bag. You can place the bags into the freezer for up to 3 months. Transfer them to the refrigerator the day before you plan to make pizza.)
On the day you plan to make the pizza, remove the desired number of dough balls from the refrigerator 2 hours before making the pizza. Before letting the dough rest at room temperature for 2 hours, dust the counter with flour, and then mist the counter with spray oil. Place the dough balls on top of the floured counter and sprinkle them with flour; dust your hands with flour. Gently press the dough into flat disks about 1/2 inch thick and 5 inches in diameter. Sprinkle the dough with flour, mist it again with spray oil, and cover the dough loosely with plastic wrap or a food-grade plastic bag. Now let rest for 2 hours.
At least 45 minutes before making the pizza, place a baking stone either on the floor of the oven (for gas ovens), or on a rack in the lower third of the oven. Heat the oven as hot as possible, up to 800F (most home ovens will go only to 500 to 550F, but some will go higher). If you do not have a baking stone, you can use the back of a sheet pan, but do not preheat the pan.
Generously dust a peel or the back of a sheet pan with semolina flour or cornmeal. Make the pizzas one at a time. Dip your hands, including the backs of your hands and knuckles, in flour and lift I piece of dough by getting under it with a pastry scraper. Very gently lay the dough across your fists and carefully stretch it by bouncing the dough in a circular motion on your hands, carefully giving it a little stretch with each bounce. If it begins to stick to your hands, lay it down on the floured counter and reflour your hands, then continue shaping it. Once the dough has expanded outward, move to a full toss as shown on page 208. If you have trouble tossing the dough, or if the dough keeps springing back, let it rest for 5 to 20 minutes so the gluten can relax, and try again. You can also resort to using a rolling pin, though this isn’t as effective as the toss method.
When the dough is stretched out to your satisfaction (about 9 to 12 inches in diameter for a 6-ounce piece of dough), lay it on the peel or pan, making sure there is enough semolina flour or cornmeal to allow it to slide. Lightly top it with sauce and then with your other top- pings, remembering that the best pizzas are topped with a less-is-more philosophy. The American “kitchen sink” approach is counterproductive, as it makes the crust more difficult to bake. A few, usually no more than 3 or 4 toppings, including sauce and cheese is sufficient.
Slide the topped pizza onto the stone (or bake directly on the sheet pan) and close the door. Wait 2 minutes, then take a peek. If it needs to be rotated 180 degrees for even baking, do so. The pizza should take about 5 to 8 minutes to bake. If the top gets done before the bottom, you will need to move the stone to a lower self before the next round. if the bottom crisps before the cheese caramelizes, then you will need to raise the stone for subsequent bakes.
Remove the pizza from the oven and transfer to a cutting board. Wait 3 to 5 minutes before slicing and serving, to allow the cheese to set slightly.
Makes six 6-ounce pizza crusts.
from The Bread Baker’s Apprentice by Peter Reinhart


She’s adorable!!!!
Dear Monet, the book from Peter Reinhart is one that I already considered buying, his recipes look amazing and so does your wonderful pizza. How nice that Lucy is obviously enjoying the pizza as well. It is also fabulous to hear that you enjoy the evening classes that you are teaching!
All the best from all of us, Andrea
im always excited for new and easy pizza dough..Lucy looks adorable and yay for liking pizza..she is going to be a true foodie 🙂
Oh man, a recipe like this would be a total weeknight lifesaver!! Great recipe friend!
Although my husband and I enjoy being the kitchen together we know not to pay attention to what the other is doing. My husband does all sorts of crazy in the kitchen it stresses me out. Glad both doughs ended up working out.
Oh no, you did the same thing I did. You’re going to create a pizza snob. We started with homemade pizza, and now my kid turns his nose at most other kinds!
That last picture is so precious! Just the idea of having a first time eating any food is something I never thought of – it must be so much fun witnessing these moments. Yay for both pizza doughs working out!
I’m so glad to hear your class is going well. You have a well-deserved break coming up!
It’s so funny that they both worked out. I’m very meticulous about weighing ingredients too!
So yummy! Lucy looks like she thoroughly enjoyed that pizza. She’s darling! xo
I’ve heard about refrigerated pizza dough….never tried it though. Yours turned out fantastic, both batches :). Lucy’s first pizza…looks like she’s got it! 🙂 ela
Great make-ahead dough. Sounds great for a quick meal the next day.
Hubby and I make homemade pizza dough all the time – it’s so good! I’m glad to hear your teaching has been a success. As you might have noticed I’ve been MIA. A lot of things other than my blog keeping me busy the last month or so. I cannot believe Lucy has grown so…. It looks like she loved her slice of pizza 🙂
Oh my gosh that picture of Lucy! I love it! Mmm I love homemade pizza dough … we haven’t had pizza night in some time at our house. I need to correct that!
Well, I think that pizza face says it all! :). How perfect. We just love the use of cornmeal with pizza crust — those gritty, chewy bits are just divine. Happy to hear you’ve been enjoying your teaching experience — that does sound like a win-win-win (I’m throwing in a third for the pizza! 😉 ), xx.
I love how simple this sounds, the dough looks spot on! Lovely photos too.
PS. She is soooo cute ^.^
Thanks for sharing this great recipe, Monet — I’m definitely pinning this. Glad to hear your teaching schedule, etc. is going so well!
That sounds like something Greg would do and your response would be mine as well! Pizza sounds sooo good right now. Lucy, you are one luck, adorable lady. Pizza on, guys!
What a wonderful pizza tutorial!! And I love that you documented Lucy’s first slice of pizza…priceless!
What a great first experience with pizza for Lucy! This pizza looks so delicious and comforting, especially with all those fresh tomatoes on top.
I’ve given my husband a hard time when he doesn’t measure ingredients as precisely as I would. But 9 times out of 10, his version turns out just fine.
What great looking dough! We always like to weigh ingredients because it’s so much more precise, but most recipes work if you’re a little bit off. Heck, every recipe that uses volume measures rather than weight ones is going to be slightly different every time you make it. And Lucy’s first pizza? Truly exciting!
That last photograph is so perfect. Lucy’s first pizza! Yay!
And that pizza dough looks great. I can’t wait to try it out myself!
Awhhhhhhh the pic of Lucy has made my day! She’s so so precious! And this pizza looks delicious, I have to try that pizza dough : )
Lol, I would’ve yelled at my husband too. I’m such a stickler in the kitchen. I’m glad both versions worked out – your pizza dough looks fantastic! I just ate dinner but I’m actually drooling looking at your photos. And I’m so glad to hear you’re having a good time teaching. I have no doubt that your students love you!