Cinnamon Rolls (whole wheat and coconut sugar)

Cinnamon Rolls with whole wheat and coconut sugar

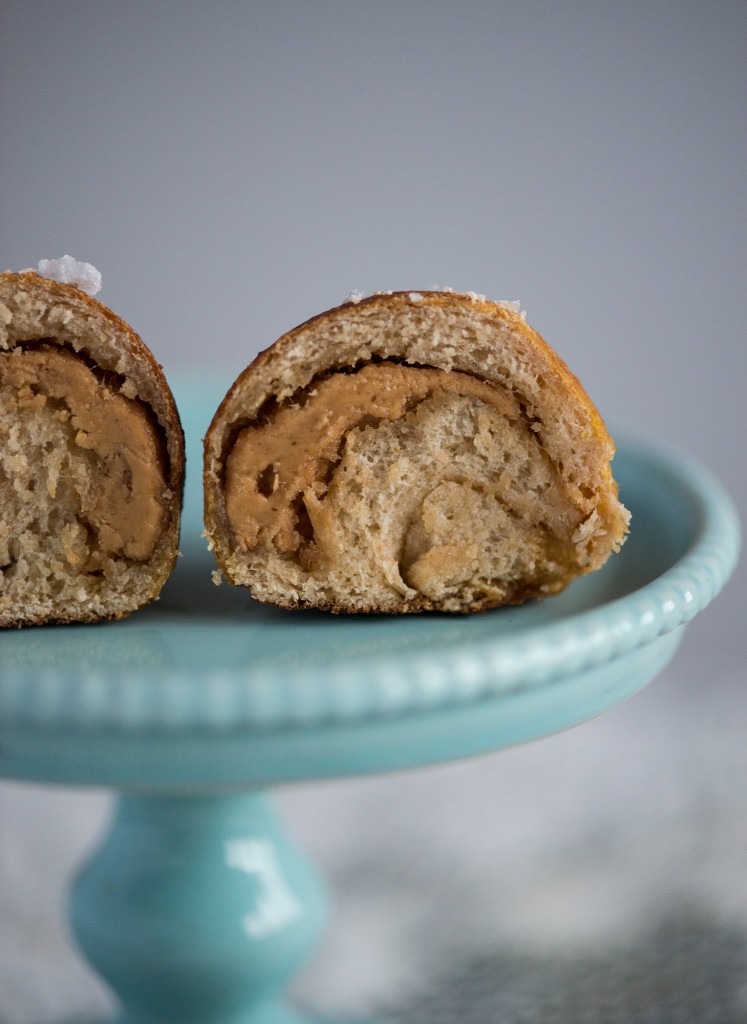
Cinnamon rolls. Even the word makes me hungry. Whoever first came up with the idea of rolling out dough on a floured counter and then dusting it with that delightful mixture of cinnamon and sugar deserves a monument. I enjoy every moment of the cinnamon-roll process. The mixing, the kneading, the rolling, the sprinkling. But I especially enjoy taking a clean serrated knife to the long log of dough and cutting my rolls.

I’ve been craving cinnamon rolls for months now. I’ll see one at a coffee shop and think, “I really want a cinnamon roll…but just not that one.” Because let’s be honest: the best cinnamon rolls are the straight-out-of-the-oven cinnamon rolls. The best cinnamon rolls are the ones your dad makes, or your friend makes, or the ones you make. Cinnamon rolls are just one of those baked good best made at home.

Cinnamon Rolls with whole wheat and coconut sugar

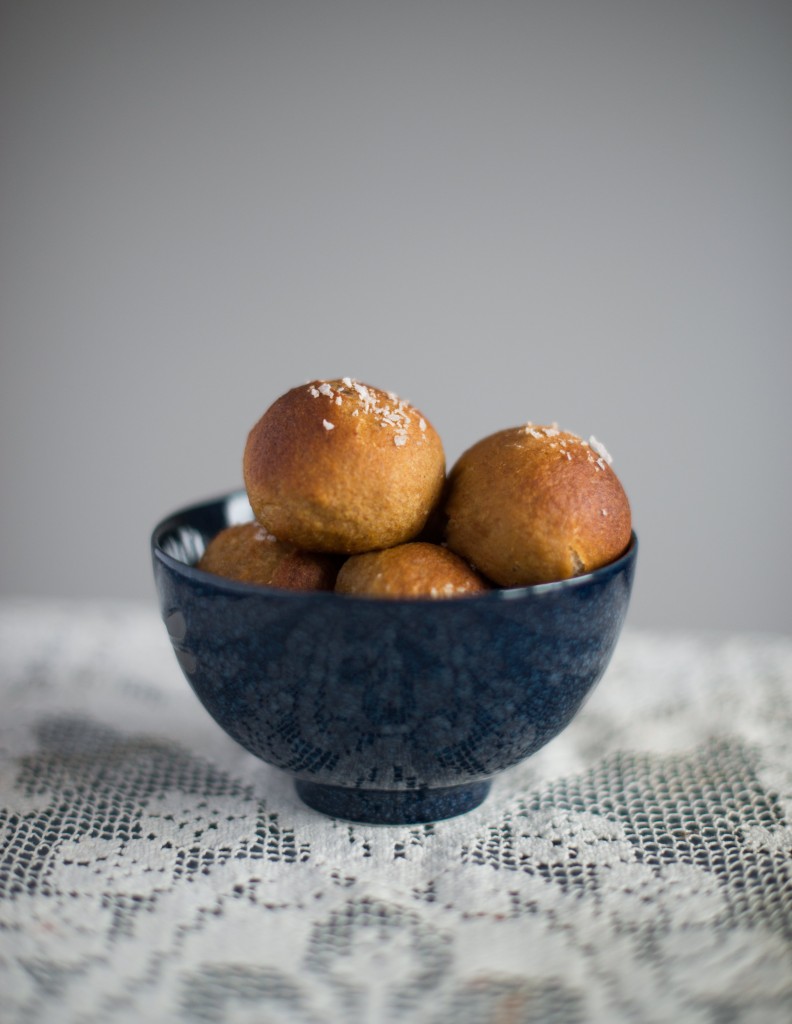
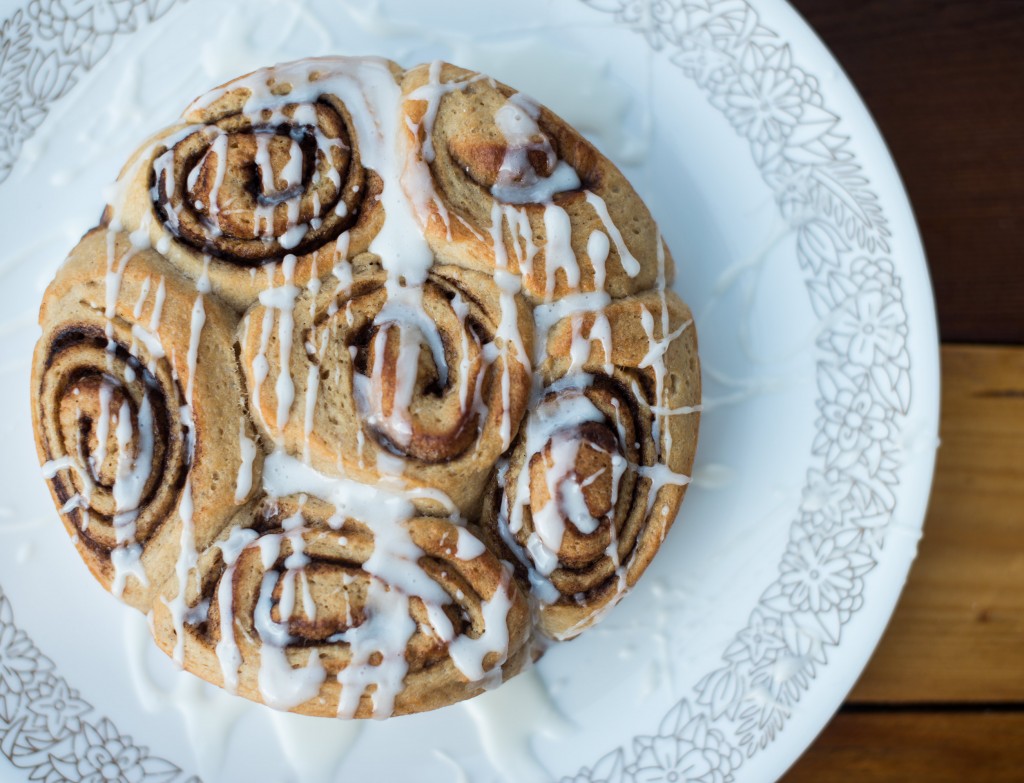
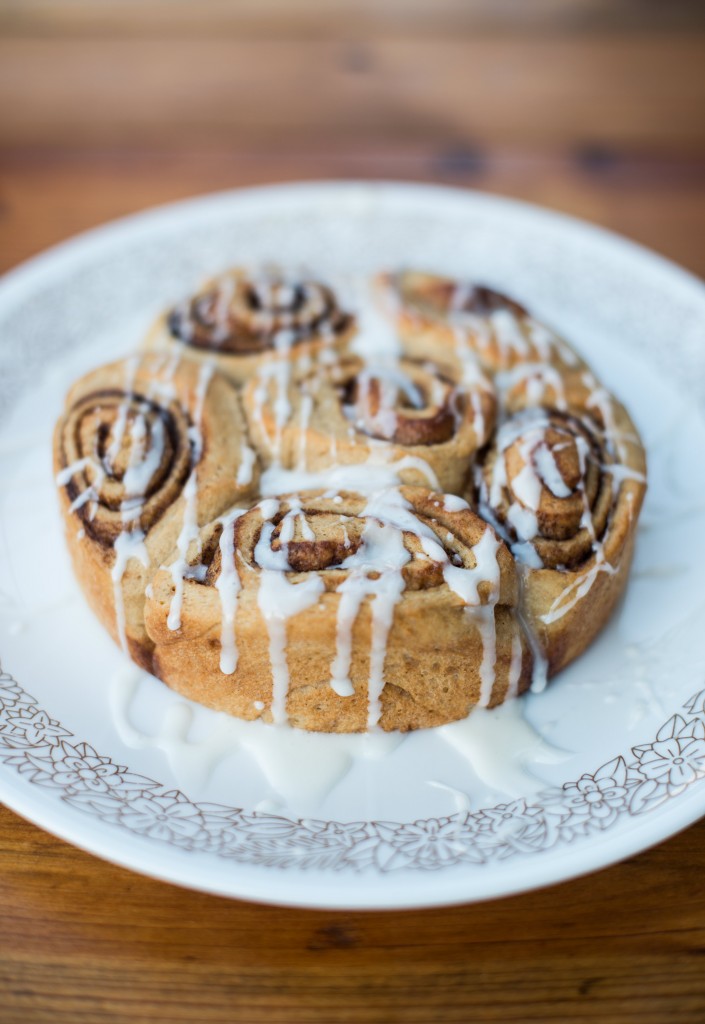
These cinnamon rolls are made with whole wheat flour and coconut sugar. They’re wholesome and indulgent. The best of both worlds. The coconut sugar adds another layer of complexity, and the whole wheat flour is hardly noticeable thanks to the addition of potato flakes. This dough is easy to work with, rises beautifully, and bakes to a lovely golden brown. I know we’ll be making these over and over again this fall.

Cinnamon Rolls with whole wheat and coconut sugar

Cinnamon Rolls (whole wheat and coconut sugar)

1 packet instant yeast (2 1/2 teaspoons)

1/2 cup lukewarm water

1/2 cup lukewarm whole milk

1 1/2 cups all-purpose flour

1 1/2 cups whole wheat flour

6 tablespoons butter, room temperature

3 tablespoons coconut sugar

1 1/4 teaspoons salt

1/2 cup instant mashed potato flakes

Filling:

1/4 cup coconut sugar

1 1/2 teaspoons cinnamon

2 teaspoons milk, to brush on dough

Vanilla Glaze (optional):

1 1/4 cups powdered sugar

1/2 teaspoon vanilla extract

4 to 5 tablespoons heavy cream

Combine the yeast, the lukewarm water, the lukewarm milk, the flours, the butter, the sugar, the salt, and the potato flakes. Mix and knead everything together–by hand or mixer–till you have a smooth dough. This will take about seven minutes if you are kneading with your stnad mixer. The dough should clean the sides of the bowl, perhaps sticking a bit at the bottom.

Place the dough in a lightly greased bowl. Cover the bowl and allow the dough to rise till it has nearly doubled in bulk, about 1 to 2 hours.

While the dough is rising, grease two nine-inch cake pans. Make the filling by combining the coconut sugar and cinnamon.

Transfer the dough to a lightly greased work surface and pat it into a 16″ x 12″ rectangle. Brush the dough with the two teaspoons of milk and sprinkle the filling over the dough, covering the entire surface. Roll the dough into a log the long way. It will stretch to about 20″ as you roll.

Using a serrated knife, slice the log into 16 slices. Space eight rolls in each of the prepared pans. Flatten them slightly. Cover the pans and let them rise for an additional 1 1/2 to 2 hours. They should spread out and start to crowd each other. While the rolls are rising, preheat oven to 375 degrees Fahrenheit. Bake the rolls until they’re golden brown, about 20 minutes. Remove the rolls from the oven, loosen their edges with a knife, and turn pan onto a rack. Spread with icing (simply combine powdered sugar with vanilla and cream) and serve.


Walnut Oatmeal Muffins

Walnut oatmeal muffins

Some days come easier than others. I love being a mother, but I had no idea how difficult it would be to find balance between motherhood and my own creative passions. I had no idea how guilty I’d feel for leaving her with a stranger, a friend, or even a family member. I had no idea how gut-wrenching it would be to hear her cry because I wasn’t right beside her…or because I wasn’t going to nurse her for the 100th time that morning. And yet, I’m realizing, more and more, how crucial it is for my health AND her health for there to be times of separation. Not long or lasting, these moments of separation allow both of us to learn more about ourselves and the world we live in.

So we’re working towards that goal, and right now, it’s messy. She screams when I hand her off, and I just have to tell myself, “this is good for her, this is good for you,” over and over again as I walk away. Of course, when I return, there is much joy and laughter and baby kisses. But those agonizing thirty or forty minutes are hard on both of us.

Walnut Oatmeal Muffins

The good news is that I’m carving out time for me to write. For those of you who don’t know, I have my MFA in Fiction, and my soul breathes so much freer when I’m putting in an hour or two of writing each day. I’m also carving out time to sit and stare. To allow my mind to wander as I sip on a cup of coffee or eat a sweet snack like these walnut oatmeal muffins. As a mother and as an American, it’s hard not to get up in the constant go-go-go mentality. I’m learning that in these moments away from Lucy, I need to slow down, think, examine, and rest.

These walnut oatmeal muffins are the product of several weeks of experimentation. I made about four batches before I hit on the right ingredients and proportions, but now I’m so happy with them that I make a new batch every week. They are slightly sweet, warming, and full of chopped walnuts. They make the perfect mid-morning energy boost. I eat one along with my cappuccino most every day.

Walnut Oatmeal Muffins

Walnut Oatmeal Muffins

1 cup cooked oatmeal

4 tablespoons melted butter

2 eggs, lightly beaten

1 banana, mashed

1/2 cup coconut sugar

1 cup whole wheat flour

1/2 teaspoon baking soda

1/2 teaspoon salt

1 teaspoon baking powder

1 teaspoon cinnamon

1 cup walnuts, chopped

Preheat oven to 375 degrees Fahrenheit and line a standard muffin pan with paper liners.

In a large bowl, combine cooked oatmeal, melted butter, beaten eggs, and mashed banana. Stir until combined and set aside. In a smaller bowl, whisk together flour, sugar, baking powder, baking soda, salt, and cinnamon. Toss walnuts in flour mixture. Gently fold dry ingredients into wet ingredients, stirring only until combined.

Scoop batter into prepared muffin pan. Bake in preheated oven for 15-18 minutes or until a toothpick inserted in the center comes out clean. Allow to cool for five minutes in pan before removing.

Homemade Wheat English Muffins

Homemade Wheat English Muffins

Do you remember your first “adult” breakfast? The breakfast you ate after mom or dad no longer set out your cereal bowl and poured you a glass of orange juice? Mine occurred sometime during middle school–maybe my 7th grade year–and when I had full say over what I could eat for breakfast each morning, I choose the obvious: bread.

Wheat english muffins with a slather of peanut butter and jam. Wheat english muffins with a scrambled egg. Wheat english muffins with a dab of butter. You get the idea: I loved wheat english muffins. When I was pregnant with Lucy and horribly sick during my first trimester, I ate wheat english muffins by the dozen. Breakfast, lunch, and often dinner. We went through a bag every other day.

Homemade Wheat English Muffins

My love for wheat english muffins hasn’t diminished. In fact, I think I took my love to a whole new level on Sunday. Ryan and I made this beautiful batch of homemade wheat english muffins…and I don’t know if we’ll ever go back. These beauties only need 20 minutes of rising time before they’re on the skillet and in your oven. They rise beautifully and easily turn your kitchen into a bakery…the smell alone will make the time worth it. And they make the perfect vehicle for all kinds of goodness: spreads, eggs, avocados, melted cheese….you probably already have your favorite in mind.

Homemade Wheat English Muffins

2 1/4 cups whole wheat flour

2 1/4 cups bread flour

1 teaspoon salt

1 tablespoon sugar

1 teaspoon baking soda

2 teaspoons instant yeast

1 3/4 cups whole milk

3 tablespoons butter

1 large egg, beaten

Cornmeal, for dusting

In the bowl of your stand mixer, whisk together flours, salt, sugar, baking soda and yeast. Set aside. In a small saucepan, combine the milk and butter. Heat over low until butter just melts. Allow to cool slightly. Combine the milk mixture with the egg and the dry ingredients. Mix for one minute until dough comes together. The dough will be wet (this is good!)

Turn the dough out onto a floured surface and lightly roll into a one-inch high rectangle. Using a large biscuit cutter, cut out rounds of dough. Place on a cornmeal dusted cookie sheet. Sprinkle the tops of the english muffins with additional cornmeal. Cover with a kitchen towel and allow to rise for 30 minutes.

Preheat oven to 325 degrees Fahrenheit. Heat a cast iron skillet on low and cook the muffins 4-5 minutes per side, until crispy and brown. Place muffins on cookie sheet. Finish cooking the english muffins in preheated oven for 12-15 minutes.

These will keep for at least one week in an airtight container. Split muffins with fork and toast before serving.

Honey Marshmallows

Honey Marshmallows 
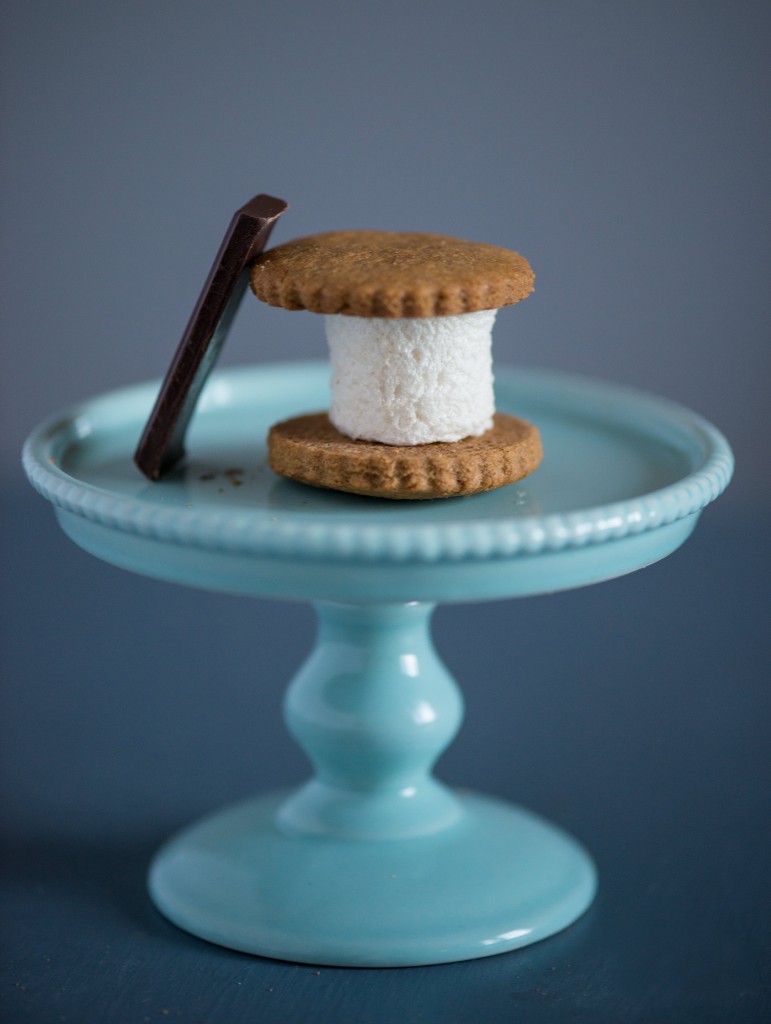
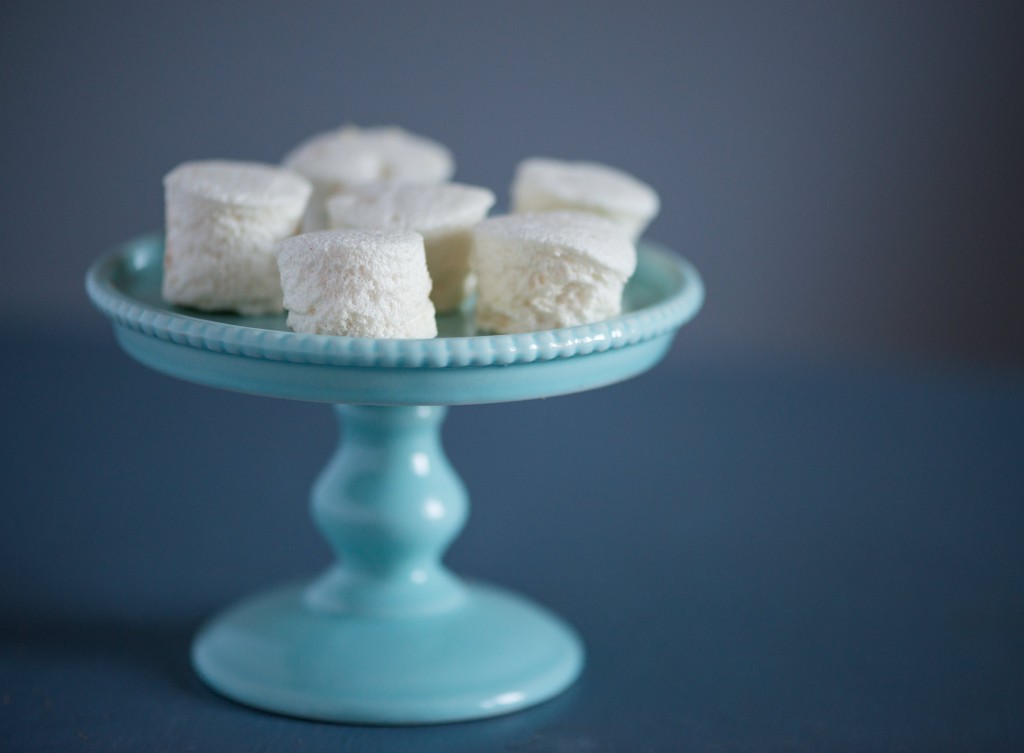
Did you know it was national S’mores day this past weekend? I didn’t either. I’ll be honest and admit I don’t quite understand these “national” food days. Why do we need a national cheesecake day? Or a national biscuit day? And who gets to decide which month gets the chocolate chip cookie and which month gets broccoli?

But, when I found out I had somehow “missed” national S’mores day yet again, I was inspired to make marshmallows. So I guess this mysterious and odd marketing scheme worked.

Honey Marshmallows

After making graham crackers a few weeks ago, I was eager to see if I could create a more healthful marshmallow. Not only did these turn out beautifully, but they’re made with only honey! No refined sugar at all. Making marshmallows sounds complicated, but it’s not. It’s far easier than I imagined, and my results turned out this good the very first time!

These taste delicious and are far better for you than the packaged kind you find at the store. So even though, at this point, we’ve all missed National S’mores Day, you should give these honey marshmallows a try. They could (and should) be enjoyed every day of the year.

Honey Marshmallows

Honey Marshmallows

3 tablespoons gelatin

1 cup ice water

1 cup honey

1/4 teaspoon salt

1 teaspoon vanilla

Lightly grease a square nine-inch pan. Line with parchment paper and grease again.

Place 1/2 cup of water in a medium bowl (or in the bowl of a mixer with attached whisk) and sprinkle the gelatin over the water. Set aside to soften.

In a small pot, combine the honey, salt, and the other 1/2 cup of water. Bring to a low boil on medium heat. Using a candy thermometer, gradually raise the mixture to 240 degrees Fahrenheit. (Took me about 8-10 minutes to reach this temperature). Remove from the heat.

With your stand mixer on low, carefully pour the hot syrup in a drizzle down the side of the bowl. Add the vanilla and increase speed to high. Beat for 12- 15 minutes, or until the mixture is thick and fluffy. Scrape into  prepared pan and leave, uncovered, for 4-12 hours to dry. Cut into squares (or circles) and serve!

Little One Eats: Peanut Butter Stuffed Pretzels

Peanut Butter Stuffed Pretzels

I love soft pretzels, but I do not like hard pretzels. Ryan eats both constantly and actually prefers the hard variety on most occasions. It’s one of the few foods we don’t agree on, and we’ve had to compromise on road trips (because in Ryan’s opinion, hard pretzels make the most perfect traveling snack). Enter: Trader Joe’s. Only recently have we been blessed with Trader Joe’s here in Colorado. But snack lovers across the country know that Trader Joe’s is the place to go to stalk up on all things sweet and salty.

A few months ago, we discovered their peanut butter stuffed pretzels. And surprisingly, I fell for them fast. We’ve bought two bags, both of which have stayed in our car. Despite my strong will, I cave EVERY SINGLE TIME. I simply can’t stop eating them. And while they aren’t necessarily unhealthy, they’re still full of ingredients and preservatives I’m not too thrilled about.

Lulu Pretzel

So when Lucy started to reach her hand out for a peanut butter stuffed pretzel, I knew I had to try to recreate them at home. Not surprisingly I took the HARD out of the equation and made these beautiful peanut butter stuffed soft pretzels. And they are out-of-this-world good. The key is to use cold peanut butter when shaping the pretzel balls. If your peanut butter is too warm, this recipe gets messy fast. But because I buy all natural peanut butter, it’s in the fridge already, which made for an almost effortless adaptation to one of my favorite soft pretzel recipes. Everyone–mama, papa, and baby–enjoyed these!

Peanut Butter Stuffed Pretzels

Peanut Butter Stuffed Soft Pretzels

Soft Pretzel Dough

1/2 cup peanut butter, chilled

Coarse sea salt

After dough has risen, preheat oven to 400 degrees Fahrenheit and bring the 10 cups of water and the baking soda to a rolling boil in an 8-quart saucepan or roasting pan.

Working with one piece of dough at a time, break off small balls of dough and stretch out to form a 2-3 inch flat disc. Scoop 1-2 teaspoons of chilled peanut butter in the center and wrap dough around peanut butter, forming a smooth ball. Set aside and repeat with remaining dough.

Drop balls into boiling water. Allow to boil for 30 seconds, turning once. Remove balls with slotted spoon and allow to drain on cooling rack. Sprinkle balls with coarse sea salt, if desired and place on a parchment lined baking sheet. Bake in preheated oven for 10-12 minutes, or until pretzel balls turn a deep golden brown. Best enjoyed the same day.